How to apply for Lifeline
Lifeline is a government benefit program that provides millions of Americans with free phone service every month. This program is available to families who meet certain requirements, and it can help them reduce their monthly expenses. If you are wondering about the Lifeline application process, keep reading to learn how to apply for the Lifeline program.
What is the Lifeline Program?
The Lifeline Program was created by the Federal Communications Commission to make communication services more affordable for low-income individuals. Lifeline offers qualifying subscribers a discount on monthly telephone service from participating wireline or wireless providers. Low-income consumers will have easier access to jobs, healthcare, and educational resources as a result of these discounts.

Who qualifies for Lifeline?
The Federal Lifeline Program is available to qualifying individuals that meet certain Lifeline eligibility requirements as listed below:
- Your income is 135% or less than the Federal Poverty Guidelines.
- You or someone in your household participates in one of the following programs:
- Supplemental Nutrition Assistance Program (SNAP), formerly known as Food Stamps
- Medicaid/Medi-Cal
- Supplemental Security Income (SSI)
- Federal Public Housing Assistance (FPHA)
- Veterans Pension and Survivors Benefit
- If you live on Tribal lands, you can receive Lifeline if your household income is at or below 135% of the Federal Poverty Guidelines or if you (or someone in your household) participates in:
- Any of the federal assistance programs listed above
- Bureau of Indian Affairs General Assistance
- Head Start (only households meeting the income qualifying standard)
- Tribal Temporary Assistance for Needy Families (Tribal TANF)
- Food Distribution Program on Indian Reservations
- Qualify Through Your Child or Dependent: You can receive the Lifeline benefit if your child or dependent participates in any of the programs listed above.
How To Apply For The Lifeline Program
You have to go through 2 main steps to get Lifeline
Step 1: Qualify
In this step, you will need to confirm you qualify for the Lifeline program.
- Firstly, navigate to nv.fcc.gov/lifeline
- Select the state or territory that you live in and click “Get Started”

- Next, you will enter your personal information like your name, date of birth, the last 4 digits of your social security number or tribal ID, and your home address.

You will also be asked if you qualify for Lifeline by yourself or through a dependent. We will select “No, I qualify by myself” in this example. Then, click “Next.”

- After you have entered your information, you will need to create a username and password to sign in to your account.

You will also enter your email address or your phone number. USAC will use this information to contact you about updates to your application.

Lastly, you will need to select the “I’m not a robot” box.

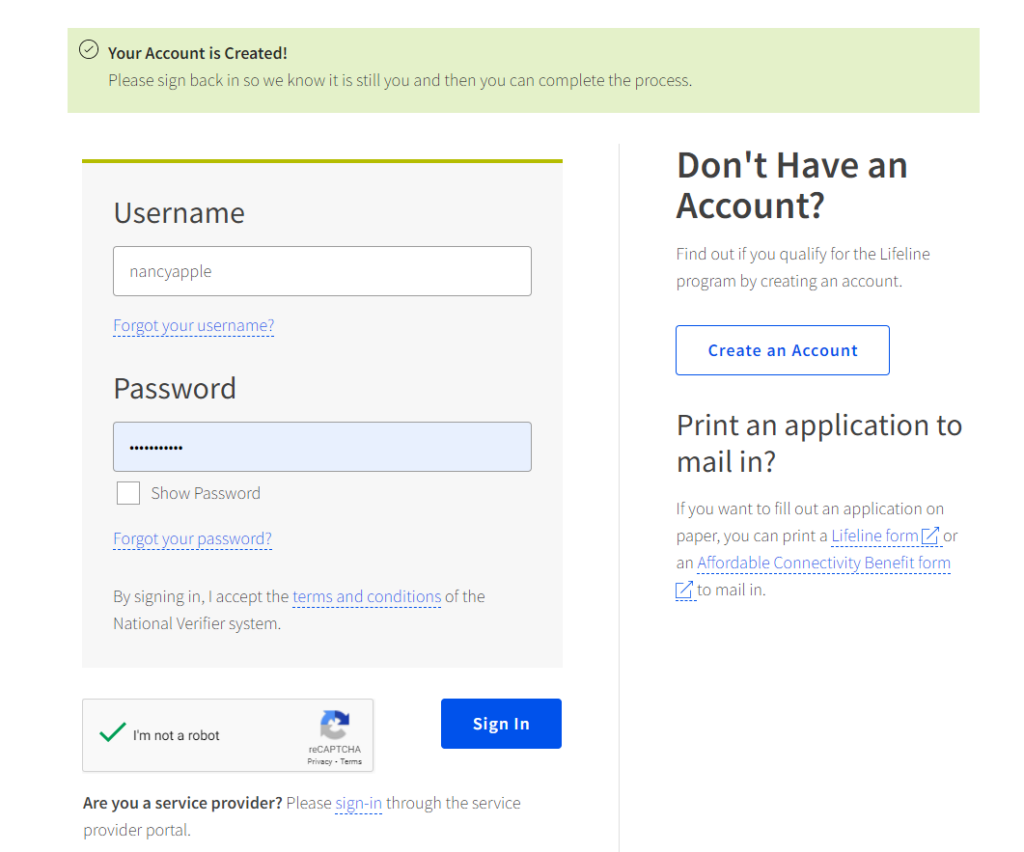
- Once you have successfully created an account, you will need to sign into it so you can apply. Select “I’m not a robot” and then press “Sign in”.

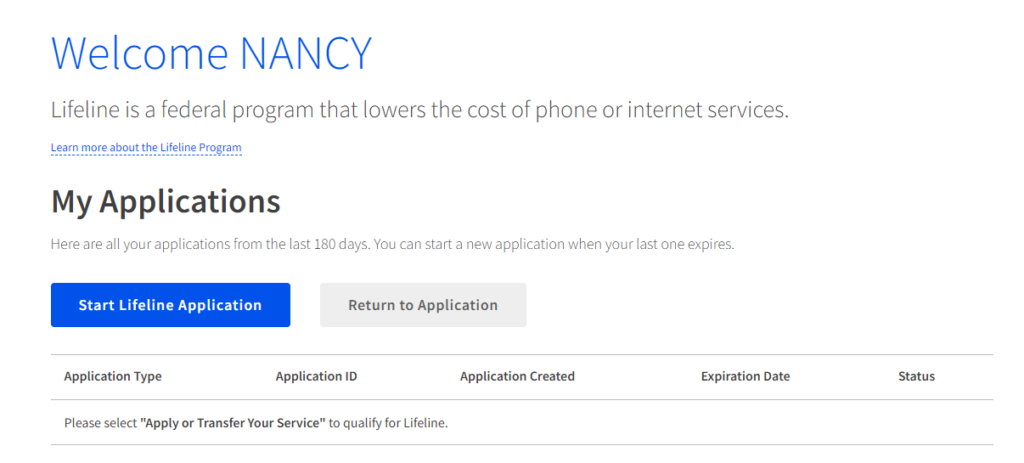
After signing in, select “Start Lifeline Application.”

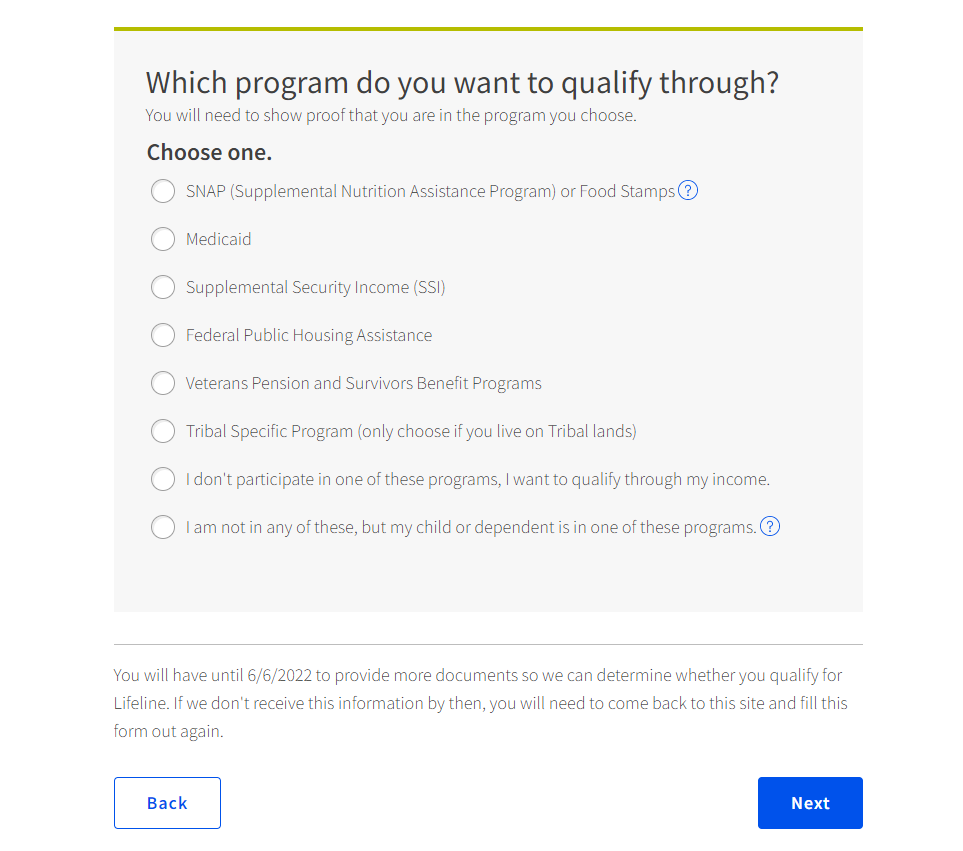
- Here, you will select how you qualify for the Lifeline Program, either through participation in a government program or income.

- The next screen will ask you to review your information to make sure it is correct. Here, you will have the option to edit the information you submitted in case any of it was incorrect. You check the box and then click “Submit.”

- Now you will need to confirm your address information by locating your address on the mapping tool. Once you have located your home address on the map, select “Next”.

10. Then, you will need to upload documents to confirm your identity. After uploading your documents, select “Next.”

11. Next, you will need to upload proofs to confirm you qualify for the Lifeline program.

After uploading your documents, select “Next.”

12. After submitting the additional information, you will be taken to the agreement page. You will read each statement carefully and enter your initials into the statements.
You must also enter your signature and check the bow below that. Then click “Submit.”


13. After submitting your information, you will see a status update. This will let you know that the National Verifier is reviewing your information.

You may check the status of your application by waiting several minutes and then refreshing this page or logging back into your application at a later time.
Step 2: Choose a provider to get Lifeline
After you qualify, choose a provider that offers the Lifeline benefit and sign up for service with them.
Here we will suggest signing up with AirTalk Wireless and Cintex Wireless. AirTalk and Cintex are FCC-licensed Lifeline providers which have provided Government Assistance Program to thousands of eligible customers across the United States.
If you’re qualified for Lifeline at AirTalk and Cintex, you can get ACP at the same time. With this Lifeline & ACP plan, subscribers can enjoy unlimited talk, text, and high-speed data plus a free 4G/5G smartphone.

Wrapping Up
To sum up, eligible customers can apply for the Lifeline program through the Federal Communications Commission or the Lifeline provider’s website.
You will have a chance to receive a free 4G/5G phone from top brands like iPhone 6s, iPhone 7, Samsung Galaxy S8, and more, plus unlimited data, text, and minutes as part of the Lifeline benefit.
